
How to Screen Print with Vinyl and Supplies from Dollar Tree
Screen Printing is a fun way to decorate t-shirts, tote bags, and jackets. You can even screen print on paper and on wood signs.
Screen printing is a great way to get nice crisp lines when putting a design on a t-shirt using fabric paint and you don’t have to use a special stencil font or modify your design so you don’t lose the inner bits of letters and designs.
**This post contains affiliate links. When you click these links I may make a commission on purchases made through those links. As an Amazon Associate I earn from qualifying purchases.** Please read our disclosure policy for more information.
Can you buy Screen Print Kits on Amazon?
You can get somewhat inexpensive screen kits like this one on Amazon. They are a good investment if you plan to do screen printing more than a couple times a year.
But if you want to try it out first, using just a few supplies from Dollar Tree or things you may already have you can try out this popular craft to see if it is right for you.
Why screen print instead of using HTV?
Fabric paint is usually longer lasting than HTV (Heat Transfer Vinyl). It is also typically softer, or not as rigid as HTV and you can mix paint to create colors if needed.
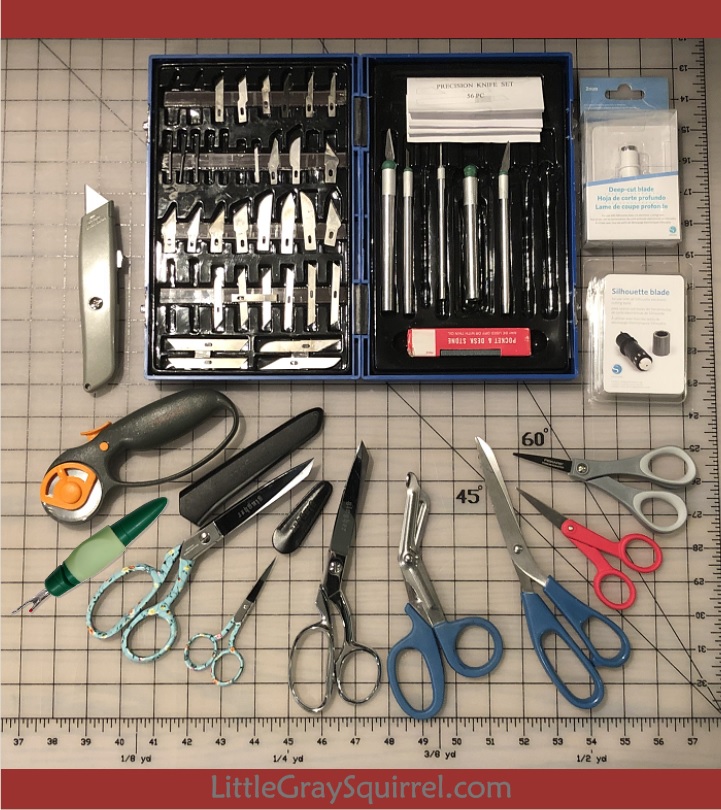
Supplies for DIY Silkscreen for Screen Printing:
T-Shirt
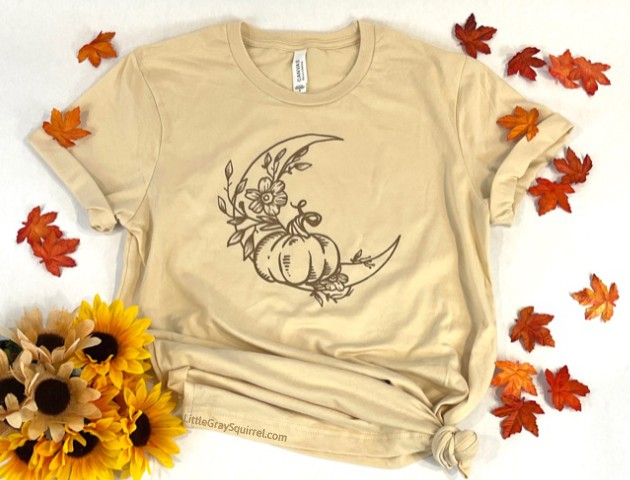
Cut file design I used
Picture Frame the size you need for your project (I used 11″x14″ for this shirt)
Child’s skirt “Just Pretending” brand two layer skirt with elastic waist (for screen fabric)
Masking tape 1”or 2” wide
Oracal 651 adhesive vinyl
Transfer tape (Rtape AT 65)
Fabric Paint
Parchment paper
Cardboard or old silhouette cutting mat
Silhouette Cameo or Cutting Machine
Iron or heat press
Weeding tool
Vinyl Scraper or Squeegee
Brayer
Scissors
Seam Ripper
Step by step video tutorial for how to make a screen print using vinyl and supplies from Dollar Tree:
How to Screen Print with Vinyl and Supplies from Dollar Tree
Screen Printing is a fun way to decorate t-shirts, tote bags, jackets, even paper and wood signs. You can get inexpensive screen kits on Amazon but for just a few supplies from Dollar Tree or things you may already have you can try out this popular craft.
Materials
- T-shirt
- Picture Frame the size you need for your project
- Child’s skirt "Just Pretending" brand two layer skirt with elastic waist.
- Masking tape 1”or 2”
- Oracal 651 adhesive vinyl
- Transfer tape (Rtape AT 65)
- Fabric Paint
- Parchment paper
- Cardboard or old silhouette cutting mat
Tools
- Silhouette Cameo or Cutting Machine
- Iron or heat press
- Weeding tool
- Vinyl Scraper or Squeegee
- Brayer
- Scissors
- Seam Ripper
Instructions
Prepare the screen printing fabric:
- If using the fabric from the skirt from Dollar Tree, remove the elastic waistband by cutting the thread or using a seam ripper to separate the layers of fabric from the elastic.
- Set the elastic and sheer fabric aside, they can be used in another project.
- Set your iron on low and carefully iron the opaque layer of fabric to remove any wrinkles. Don’t hold the iron in one place too long or it could melt. Spray with water if needed to help but the wrinkles should come out easily.
Make the Screen
- Remove paper, cardboard, and glass or plastic sheet from the picture frame.
- Cut your screen fabric to the size of your frame.
- Apply a strip of tape along each side of your fabric, taping it to your work surface overlapping at the corners. You want the center of the tape to be along the edge of the fabric so you have half of the tape over the fabric and half over the edge.
- Peel the taped fabric off of your surface and place it sticky side up on your surface.
- Place the frame flat side down in the center of your taped fabric.
- Apply the tape to the frame down one of the longest sides first.
- Pulling the fabric snug, apply the tape down the other longest side of the frame.
- Pulling snug, apply the tape to one of the shorter sides of the frame, and then the last side.
- The screen should be nice and taught but not so tight that it pulls in the sides of the frame.
Cut the Design out of Vinyl
- Open your design in Silhouette Studio.
- Size the design to fit your shirt (make sure it will fit inside your screen).
- Flip the design horizontally to mirror the design. Since the vinyl is applied to what will be the underside of the screen, this will allow it to be facing the correct direction once you screen print the design onto your fabric.
- Cut the design out of Permanent adhesive vinyl.
- Weed the negative parts of the design, the parts that you want to be painted onto the fabric.
- Apply transfer tape to the weeded vinyl and remove the paper backing.
Apply the vinyl stencil to the silkscreen
- Place the screen bottom side up on your surface. You may want to place a solid object under the screen to keep the screen flat while you apply the vinyl.
- Center your vinyl and smooth it on with a vinyl scraper
- Carefully remove the transfer tape, making sure all of the vinyl stays on the screen.
- Apply a perimeter of tape around the vinyl to make sure you don’t accidentally get fabric paint outside of the vinyl stencil.
- Use a brayer or vinyl scraper to fully smooth out and adhere the vinyl to the screen on both sides of the screen.
Screen Print on your Shirt
- Place your shirt on a smooth surface.
- Insert a piece of cardboard or plastic inside the shirt in case some paint bleeds through.
- Roll a lint roller across where your design will go to make sure there isn't any lint or anything else on your shirt.
- Center the design on your screen on your shirt and set it down. The vinyl side should be touching your shirt and the screen should be flush, sitting directly on top of the shirt.
- Shake or stir your paint according to product instructions.
- Run a good amount of paint across the top of your design making sure it is over the taped off area. You want enough to be able to cover all areas of your stencil and a little extra which can always be scraped off and reused.
- Push down on the screen with one hand, holding it firmly against the shirt.
- Place your scraper or squeegee at the top of the stencil and firmly and evenly, pull the scraper to spread the paint across the stencil pushing the paint through the silkscreen onto your shirt.
- Inspect to make sure all parts of the design have been covered with paint.
- Carefully remove the silkscreen while holding down the shirt.
- You can reuse the screen but if there are small parts of the design, they are more likely to fall off. See Notes. Keep an eye on them while you are screen printing and make a new stencil and screen if they start to come off.
- When you are finished, wash your screen, remove the vinyl and let it air dry.
Heat set the fabric paint for long lasting screen print
- Follow the instructions for the paint or ink you used.
- For FolkArt Fabric paint, it says to let the paint air dry on the fabric for 24 hours, heat set with an iron, using a pressing cloth, and it can be hand or machine washed with cool water after 72 hours.
Heat set using an iron
- Set your iron to the cotton setting with the steam turned off, ideally without any water in the reservoir.
- Cover the design with parchment paper or a pressing cloth.
- Press the iron over the part of the design for about 5 seconds, then move to another part of the design for 5 seconds and then back until all parts of the design have been heated for about 30 seconds. Don’t let the iron sit in the same place for too long or you could burn the fabric.
- You can wear the shirt now but don’t wash it for at least 72 hours after heat setting it.
- For best results, wash in cool water and hang to dry or turn inside out if using a dryer.
Heat set using a heat press
- Preheat heat press set to 320 degrees F
- Cover the screen printed design with parchment paper or pressing cloth.
- Press for 30 seconds.
Notes
If you want to try to reuse this design, you will need to immediately screen print the next item. I found that this fabric paint dries very quickly and clogs up the very tiny holes in this fabric which will prevent you from getting a nice transfer on the following prints.
I have reused this style of screen by washing it immediately and removing the vinyl. Then a new design can be cut out of vinyl and the screen can be used again. Or, remove the vinyl from the fabric and the fabric from the frame and wash the fabric. Then you can use it again. Just wash the fabric with soap and water.
Love Fall Crafts?
For another Fall themed activity using a Silhouette Cameo check out my tutorial on how to make an embellished reverse canvas.

Product Sales Plan Worksheet